Unusual Sunset Cameras
Caution: The materials and the techniques described on this webpage can cause the apparatus to catch on fire. Do not attempt any of these activities where a fire, should it occur, could spread to a dwelling or to the environment.
Although I have successfully photographed beautiful sunsets with "regular" cameras, and although I have photographed the solar path across the western sky with homemade pinhole cameras, it occurred to me that I might be able to gainfully combine these diverse techniques in a way that may be novel. What follows is a documentation of my effort, my equipment, and my results.
.
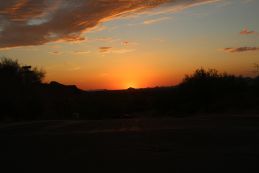

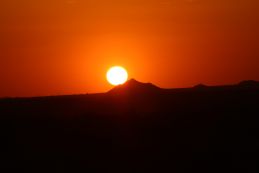
All of the above images were obtained with "normal" cameras.
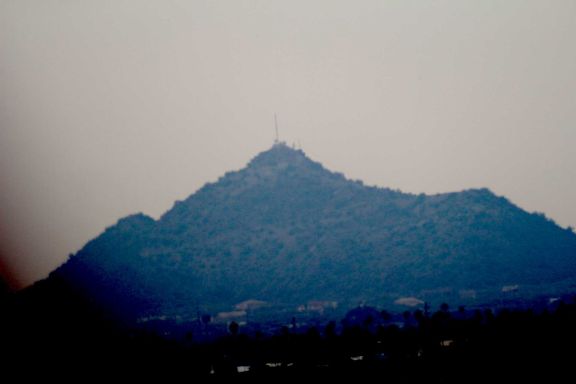
As seen from my driveway, the tri-peaked hill (above) is a distinctive landform that sits in the center of the valley floor and, also seen from my driveway, the sun sets behind this hill approximately 20 days before and after summer solstice (June 21). This tri-peaked hill and the sun moving relative to it will be my photographic subject for all the images that follow.
Several years ago I purchased a few inexpensive almost-toy-like 60 mm diameter lenses on eBay as potentially useful items to take to the schools to show children some principles of optics and how refracting telescopes work. I purposely dissassembled two other compound objective lenses like the one below to separate the crown and flint glass lens elements to show the students how the construction of the compound lens has been configured to reduce the effects of chromatic aberration.
The image above shows that I disassembled and purposely spaced the two objective lens elements to show the crown and flint glass lens components. I then configured these lens components to make a tubless, but functioning, refracting telescope for table-top demonstration purposes.
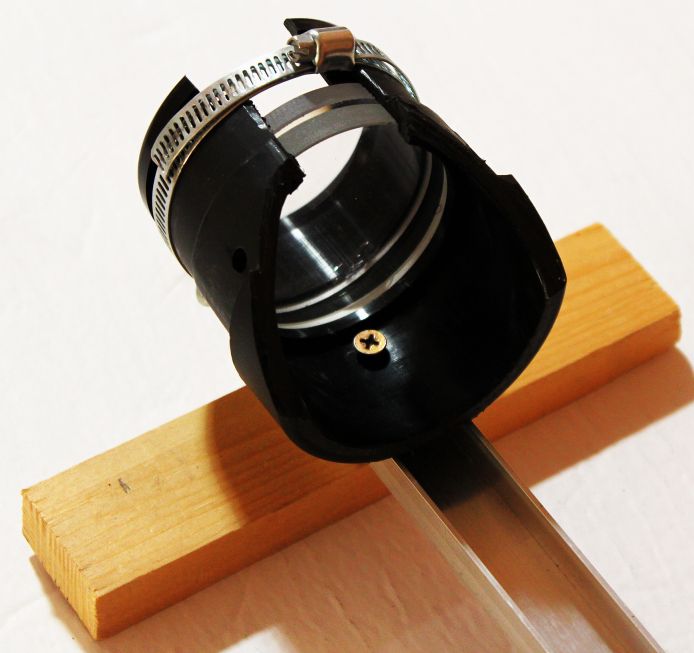
The two images below show one of these 60mm diameter, 720mm focal length (f/12) lenses installed into a length of plastic plumbing (PVC) pipe to create the front element of my unusual solar camera. The back of the camera consists of an end fitting for the PVC pipe that can serve to hold a circular piece Ilford MGIV Multigrade IV RC Luxe black-and-white photographic paper. This circle of black-and-white photographic paper has been cut from a 5X7 inch sheet to snuggly fit the interior of the PVC end fitting.
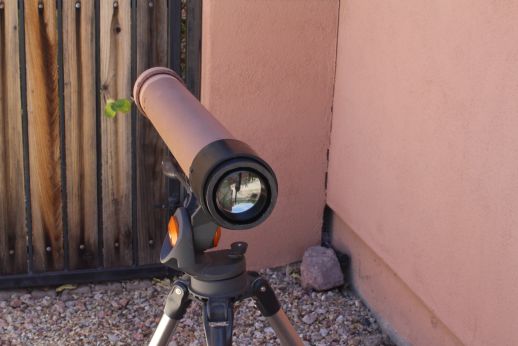
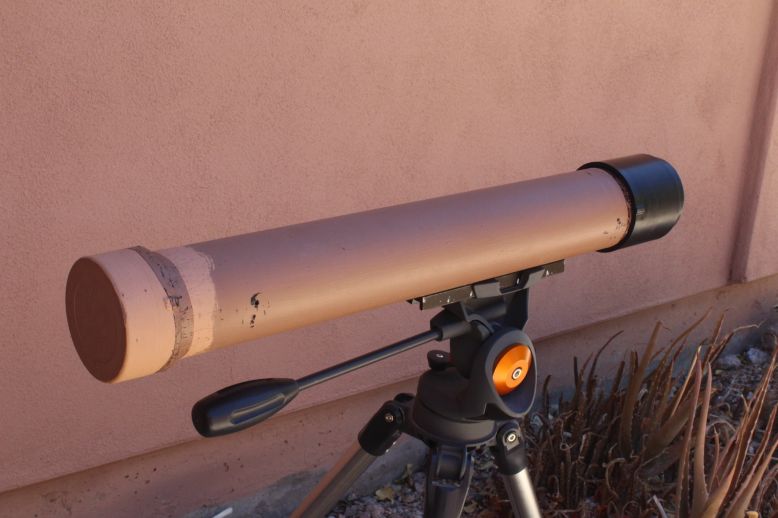
Focus? How do you achieve a focus? The photographic paper should be located one focal length away from the lens. To refine the focus, I drilled a hole in the center of the PVC end cap and placed a circular piece of translucent plastic (cut from a kitchen counter protector) inside the cap. I used a magnifier to view the image of a distant object formed on the translucent sheet. I adjusted spacing between the end cap and the lens until the images of both the translucent sheet and the distant object were clear and in focus. For the actual exposure, I covered the observation hole with black electrical tape.
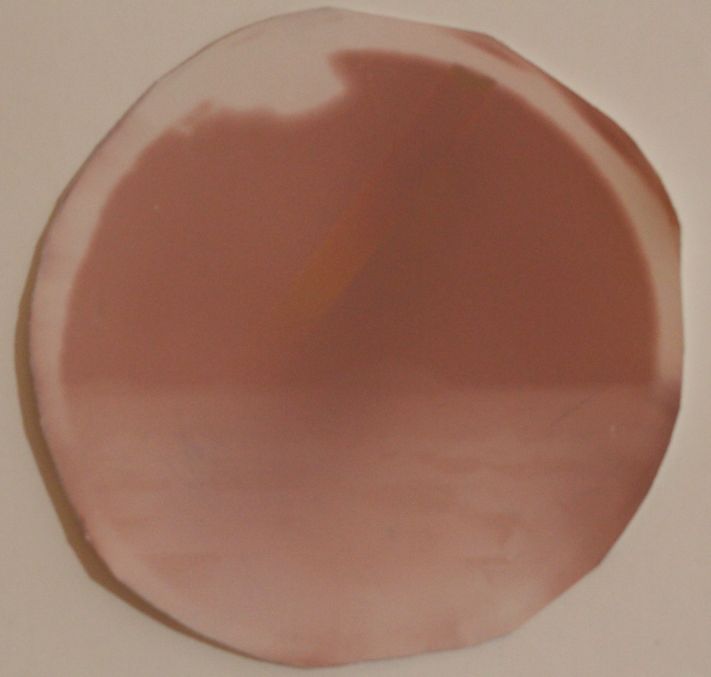
The image below shows one of my successes using the above camera. It is a time exposure of about 3 hours total, taken of my western horizon, starting in mid-afternoon and ending when the sun set behind the tri-peaked hill. On the image, the sun moves from high in the southern portion of the sky on 30 June 2020 to the local horizon, a trip that takes approximately an hour. Thus the landscape was exposed about three times longer than the direct solar path.
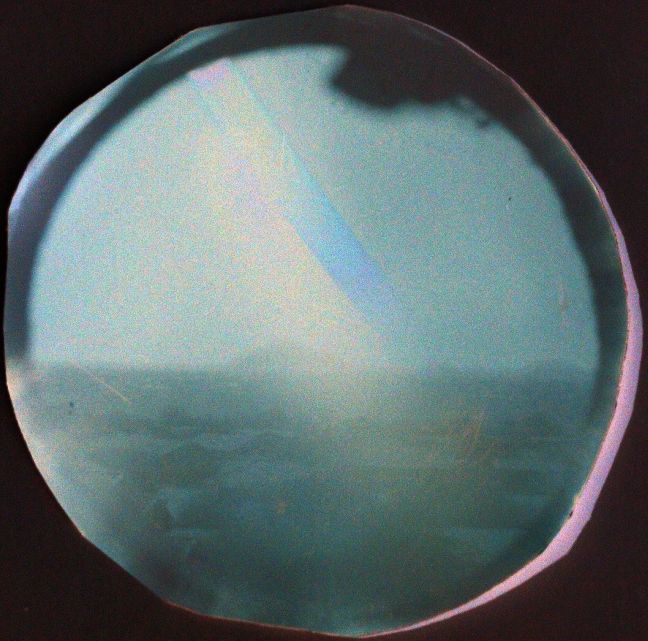
The above image was created from the original image (below) through a series of physical and digital processing steps. Shown below is the original image on the "black-and-white" paper that was removed from the camera. The photo-exposed parts of the white photographic paper are dark, with more exposure causing a darker image. Notice also that the orientation is left-right reversed and that the amount of contrast is very limited. The necessary procedures to process this image are provided below.
Because of the need for digital processing, I photographed the paper image with my Canon T4i digital camera. Interestingly, the contrast on the photographic paper is so low that the autofocus function of the camera is incapable of successfully operating. Thus, I must use manual focus. Once successfully photographed, I processed the digital images by using IrfanView 64 software in the following sequence: 1) sharpen the image; 2) horizontal flip to correct the orientation; 3) auto-adjust color correction; and 4) negative (invert image) for all three primary colors. The original paper on which the image is formed is Black-and-White, so the colors, whether inverted or not, are fictitious. Inverting the colors creates a product that better approximates the natural colors of the sun, sky, and ground.
The image below shows the results of all 16 trials that I took in the hours before sunset on each of 16 days following summer solstice in 2020. Because I live in Gold Canyon, which is a suburb of Phoenix, Arizona, air temperatures in the shade were between 100 and 112 degrees Fahrenheit on those days, and, what is probably more important for this activity, the relative humidities probably never exceeded 10 percent on each of those days. I quickly learned that the photographic paper is almost totally insensitive to light, irrespective of the light's intensity, in an almost totally dry environment. Thus, I learned that I had to put a strip of water-soaked black cloth into the black plastic tube of the camera just before I loaded the photographic paper on the end cap to seal the camera for the exposure. Evaporation from this strip increased the relative humidity inside the camera and allowed the photographic paper to chemically react and record an image.
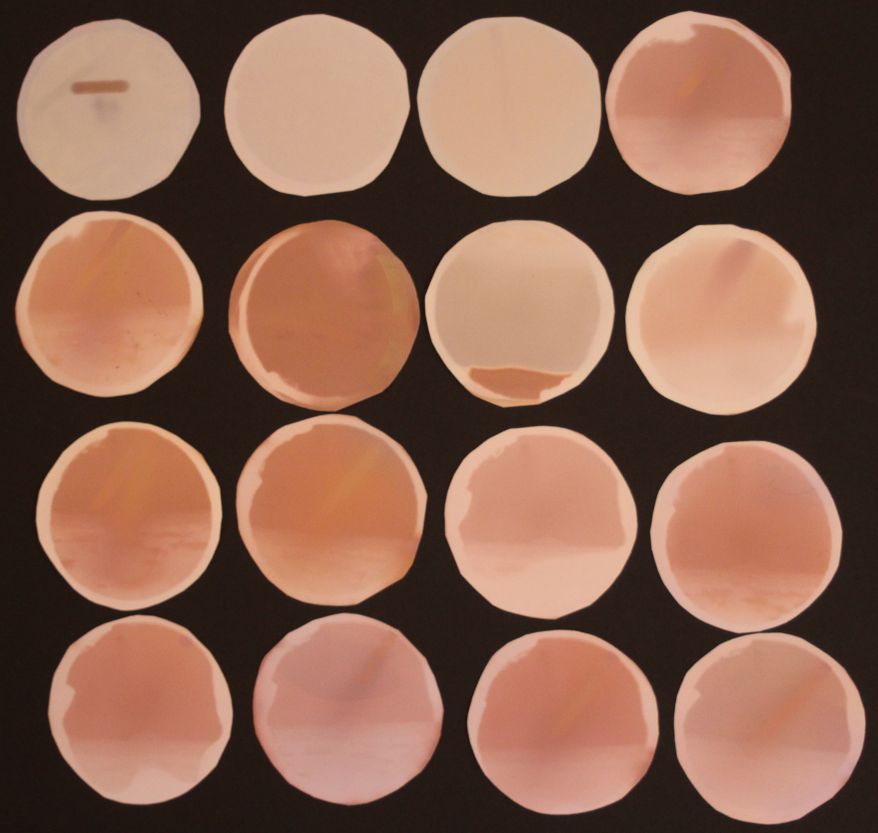
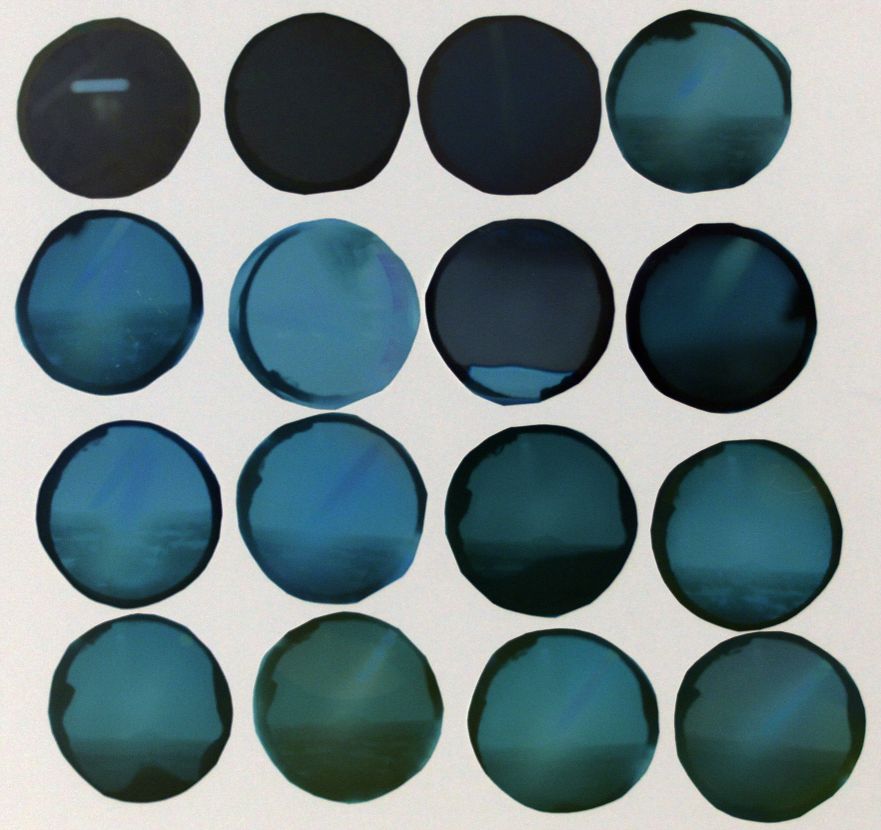
The disks above are in chronological order, starting in upper left and progressing horizontally to conclude on the lower right. The image below shows the same sequence in the same order, but it has been digitally processed by the steps outlined previously, except for step 2 (the horizontal flip) because that would reverse the sequence.
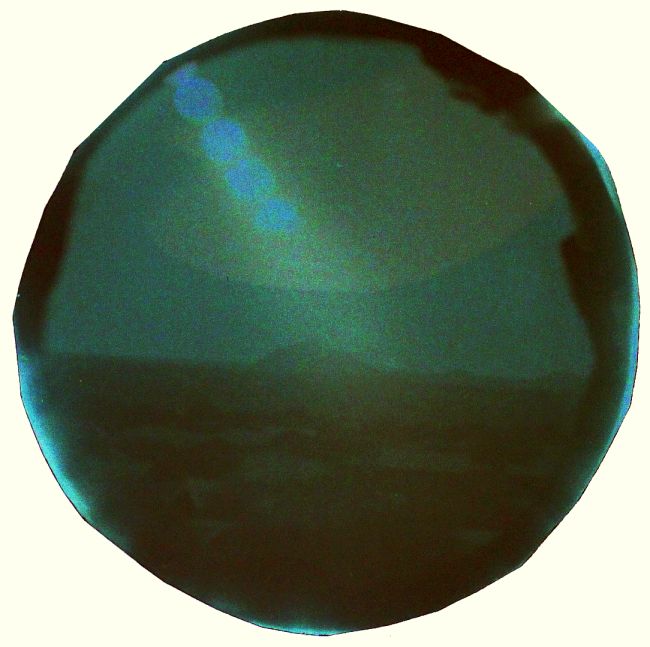
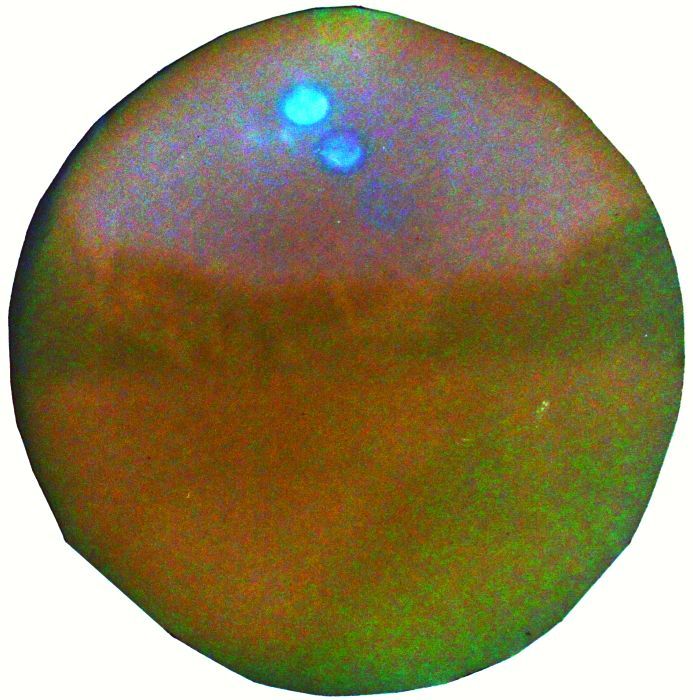
Perhaps one of my most successful images is the one below which shows 30 second exposures of the setting sun that were made every two minutes. Earlier in the day I exposed the photographic paper to provide a base exposure that portrays the foregound and background.
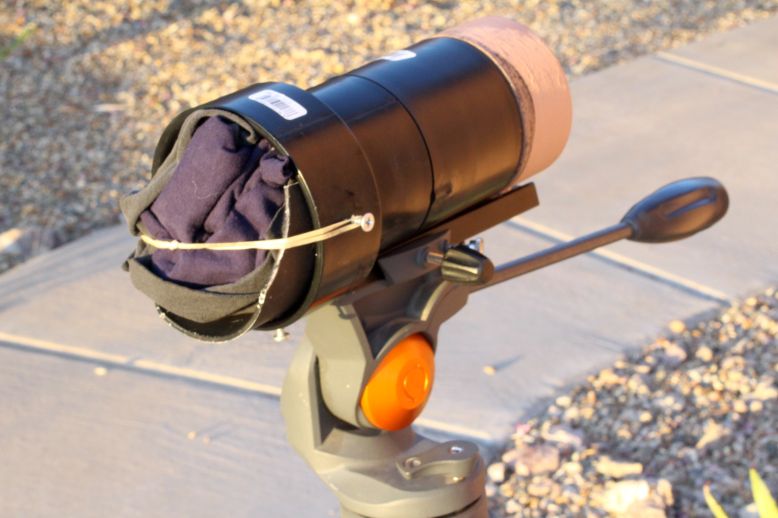
Having achieved some degree of success with the above camera, I decided to use a different objective lens: a larger, shorter focal length, simple, biconvex, glass lens. However, I realized I would have a higher risk of starting a fire with this modified apparatus. As the image below shows, I modified the apparatus to use a 100mm (4 inch) diameter, 175mm (7 inch) focal length lens. This lens will concentrate more of the sun's light into a smaller image on the photographic paper and, consequently, will generate higher temperatures.

The above image shows the larger lens and the shorter tube, whereas the image below shows the apparatus with the light entry precluded by means of dark fabric that is held in place by rubber bands. This arrangement was my unconventional camera shutter.
The first question that needs to be answered: Will a 3-hour time exposure directed at the setting sun cause the photographic paper to burn? Results are shown below.
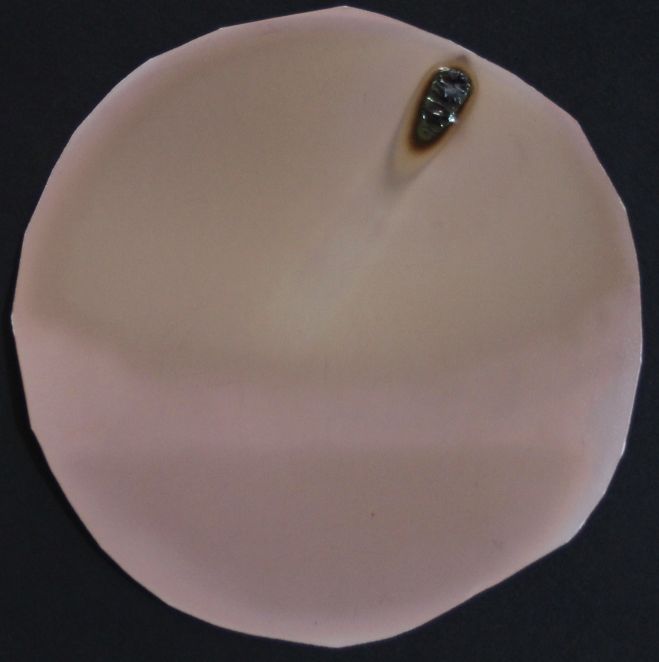
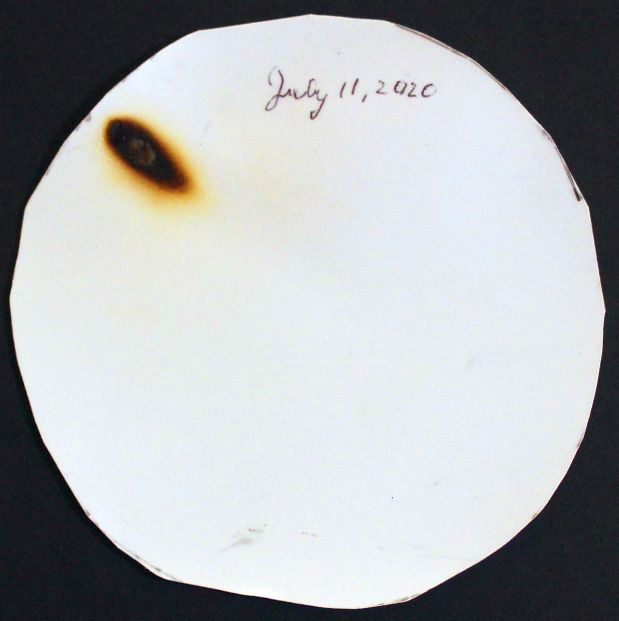
The image above shows the exposed emulsion side of the photographic paper. The image below shows the reverse side of the same disk of photogaphic paper. Although the apparatus didn't burn, the paper did char and a hole was formed.
The image below shows the setting sun above the landscape after complete digital processing as per the steps previously presented.
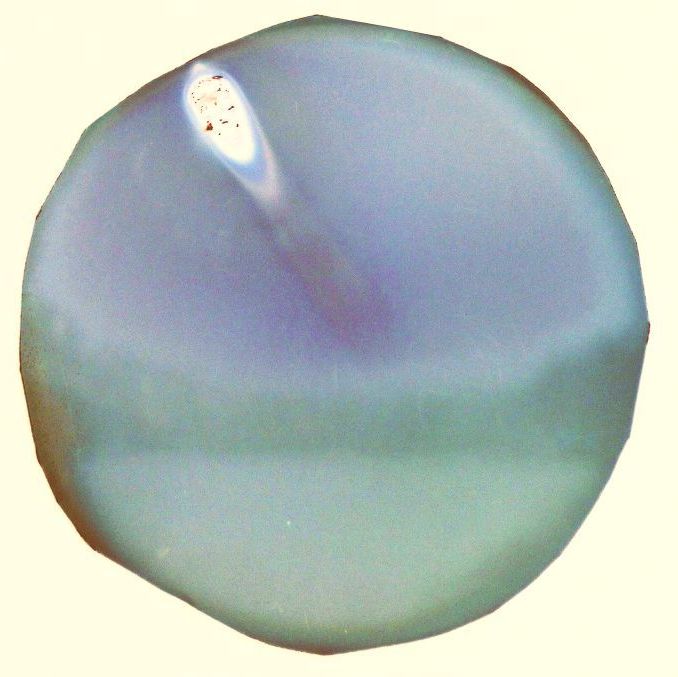
On the above image, notice how the intensity of the sun diminishes as the sun approaches the horizon. As the solar path approaches the horizon, the sun's light traverses progressively lower portions of the atmosphere. The density of the air increases as the surface is approached. Indeed, the air density diminishes by a factor of 1/2 for every 18,000 feet (3.5 mile) increase in altitude.
The image below shows photographic paper which has been exposed for 30 seconds every two minutes. This was accomplished by covering the front lens with the dark cloth for two minutes, and then uncovering the lens for 30 seconds, and repeating, as described earlier on this webpage.
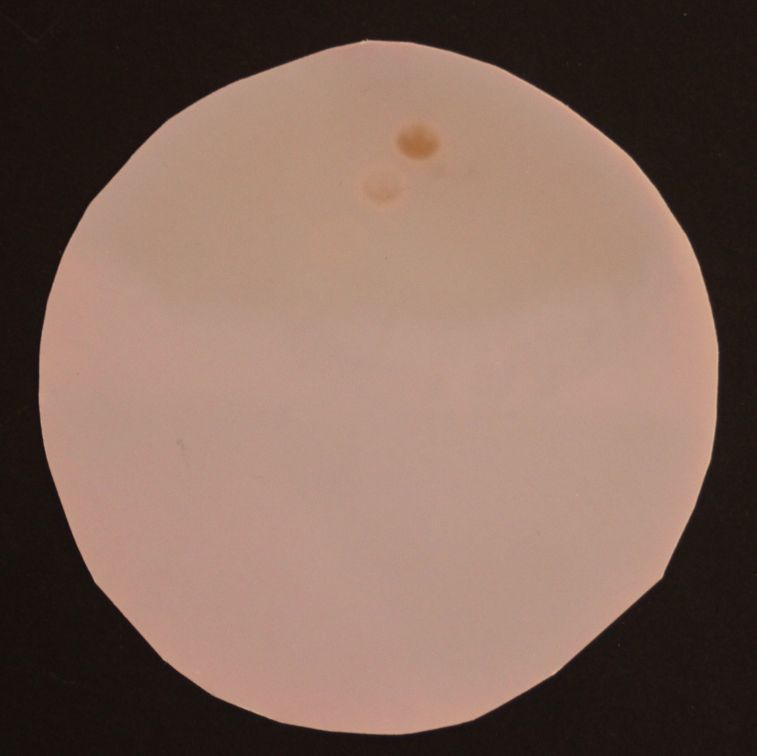
The image below shows the above image after digital processing, as described previously.
The depletion of the sun's light as its path approaches the earth's surface is well rendered on this image.
Again, caution! The materials and the techniques described on this webpage can cause the apparatus to catch on fire. Do not attempt any of these activities where a fire, should it occur, could spread to a dwelling or to the environment.